tuning box assembly guide


Assembly time 20 minutes
Assembling a tuning box is relatively simple: just follow, in order,
steps listed in this guide.
Carry out these operations when the engine is cold.
Carry out these operations when the engine is cold.
No
Screwdriver or wrench
tuning box assembly video
Open the engine hood
To begin, with the engine and ignition switched off, open the hood.
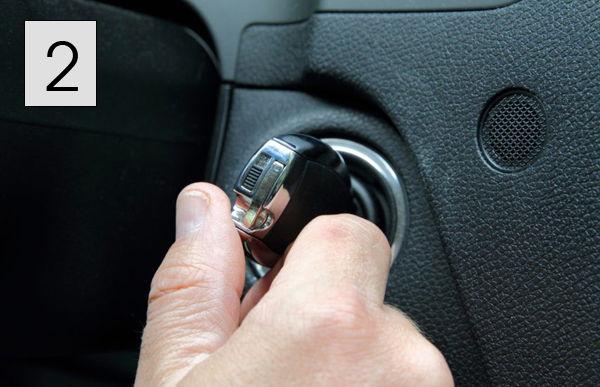
Remove keys from ignition
If not, switch off the ignition and remove the keys.
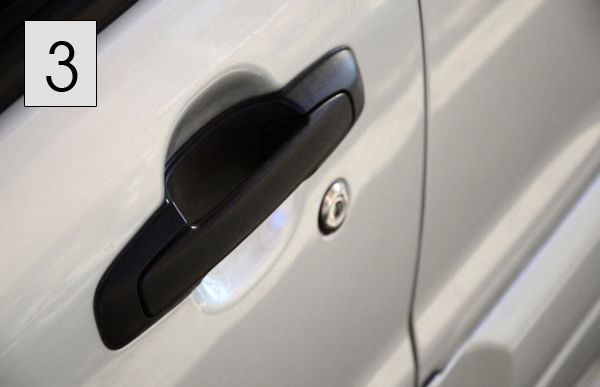
Close the vehicle doors
The vehicle doors must be closed using the ignition key. Wait 10 minutes for the current to stop flowing in the motor harness, then disconnect the
then disconnect the electronic connectors you'll need to interconnect with the box.
Remove soundproofing motor cover
Most engines come with a plastic soundproofing engine cover, either screwed on with 4 screws or clipped onto rubber silent-blocks. If the cover is screwed on, use an allen or pipe wrench, depending on the type of screw used. If there are no screws, simply unclip the cover by pulling lightly on the 4 corners to release it from the silent-blocs.
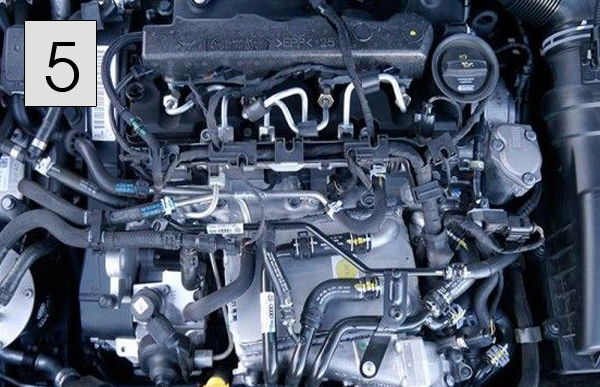
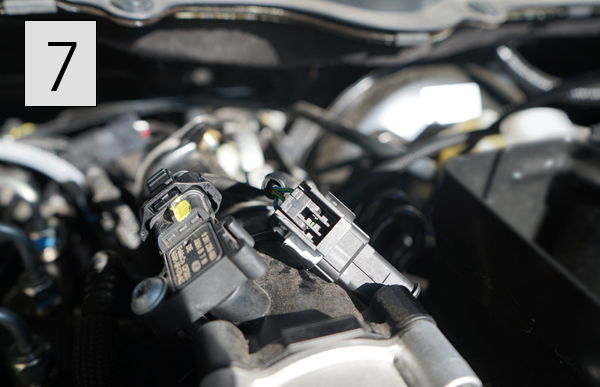
Visually identify the connection terminals
Depending on the type of box (fuel rail sensor, boost pressure sensor, engine speed sensor), the connectors you'll need to connect your tuning box are usually accessible on the top of the engine.
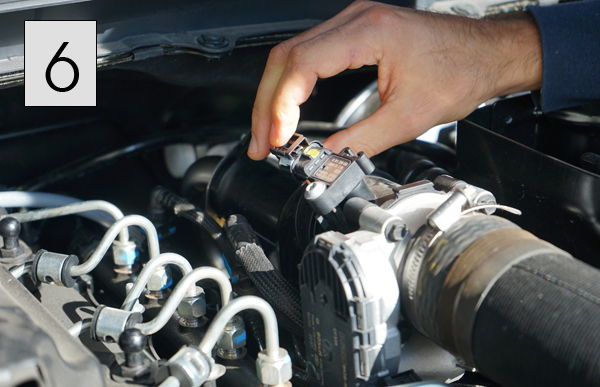
tuning box connection
Automotive connectors feature a locking tab on the opposite side. Simply press this tab and pull the connector out towards you.
Positioning the harness and housing
The tuning box harness must be positioned so that it does not touch hot engine parts, or get caught in the cooling fan propeller or accessory belt. Position the case on the right-hand side of the engine, close to the battery or airbox. Although the case is waterproof, we supply a protective pouch.